


I’ve discovered a new found love for mini home makeovers. It might be because i now have a space of my own that i want to make it look all pretty and glam.
My first ‘makeover’ project has been this shoe cabinet. It used to be mine, but then got abandoned and lived in the utility room at my parents house. For years it was ignored, so i decided to give it a new lease of life. It now lives happily with me and my many many shoes.

My Shoe Cabinet: Before and After
Here is a quick step by step to my gorge new shoe storage.
The dark wood stain just had to come off, it was horrible and so old school. I wanted my cabinet to be light and modern to match the rest of my home. I borrowed my dad’s power sander and spent a good half hour (or more) erasing that awful deep wood varnish. My arms ached at the end of it and my hair was full of dust, but it was worth it.
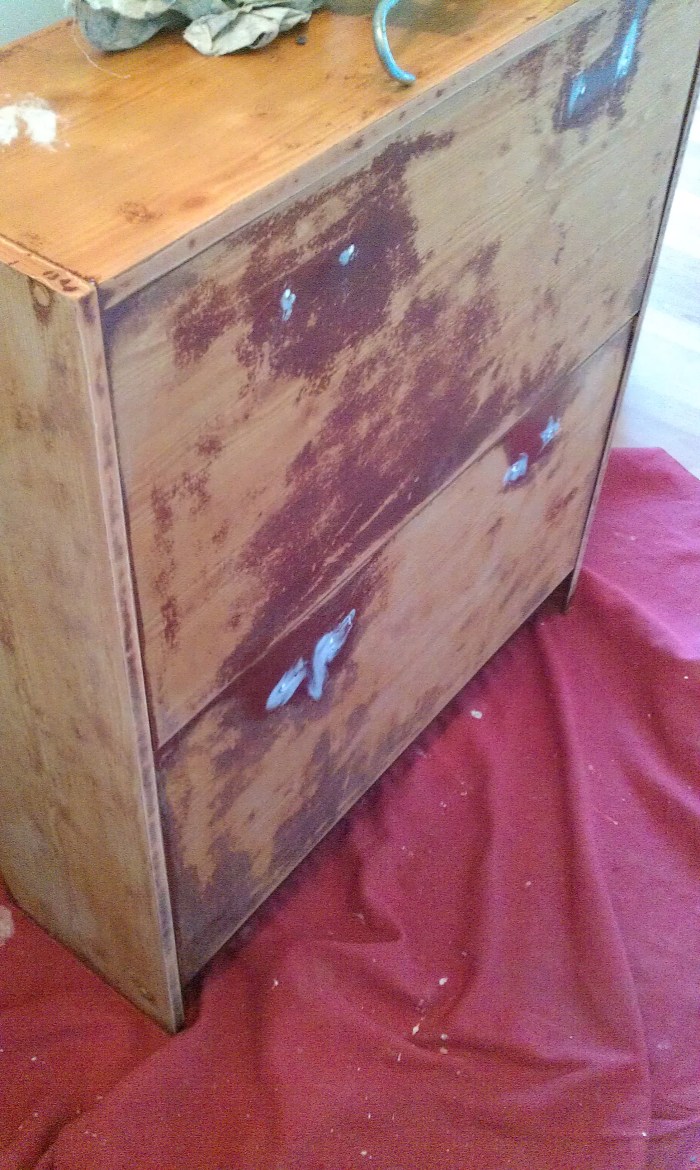
Sanded, handles removed and holes filled
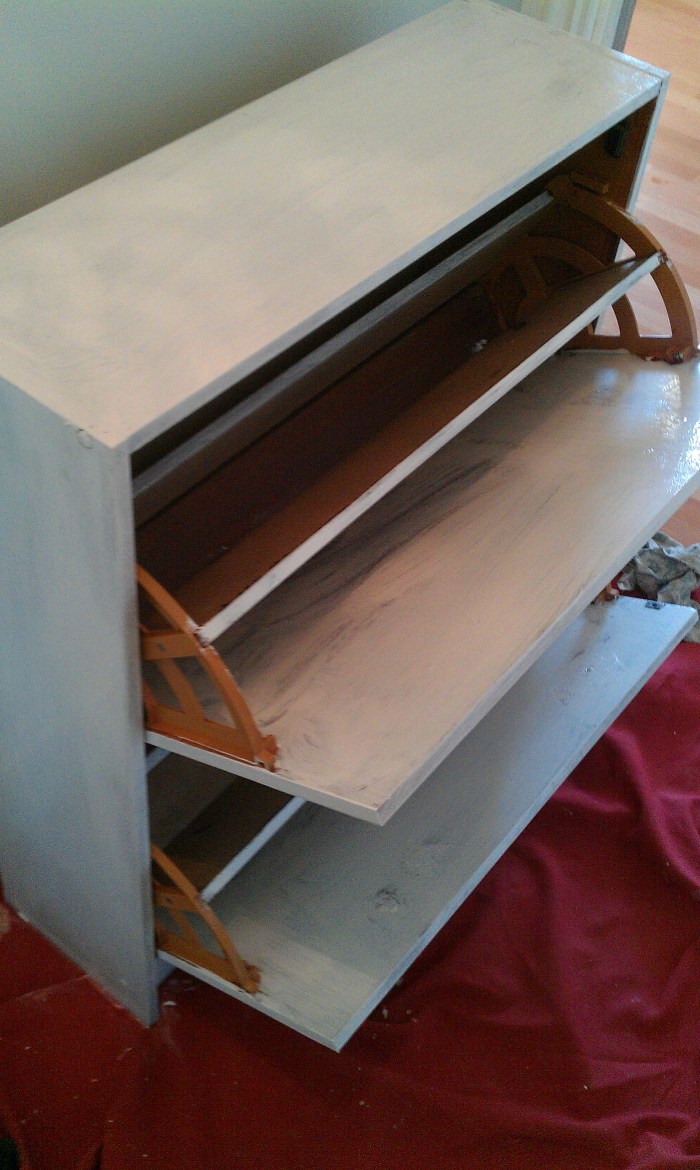
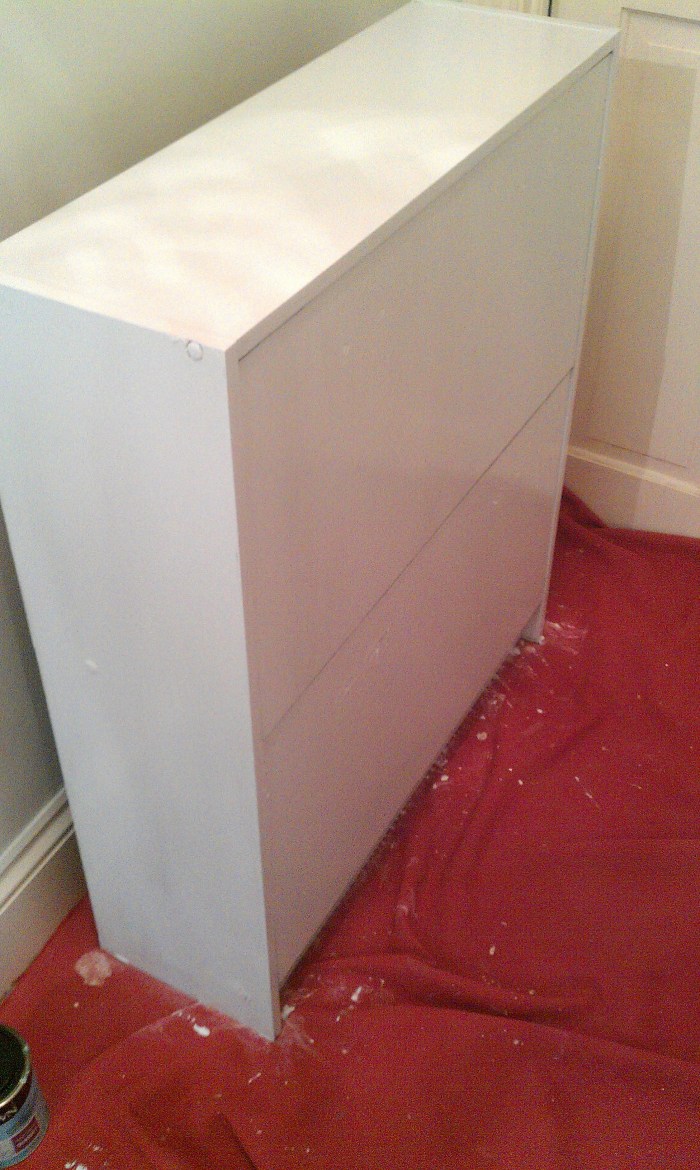
I removed the ugly plastic handles on the unit doors, and consealed the hole, and any other marks with filler. I then brushed the entire cabinet with a white base coat. This is really important as it primes the surface of the furniture for the actual final paint colour.
While the unit was drying, i decided to create a little feature for the doors. I painted two wooden plaques in a metallic silver (Sophistication by Crown). Added some sparklies around the edges and listed some of my fave shoe types. I’d recommend using a permanent pen like a Sharpie to do this. I made the woeful choice using a normal marker on one of the plaques and the colour began to bleed slightly 😦
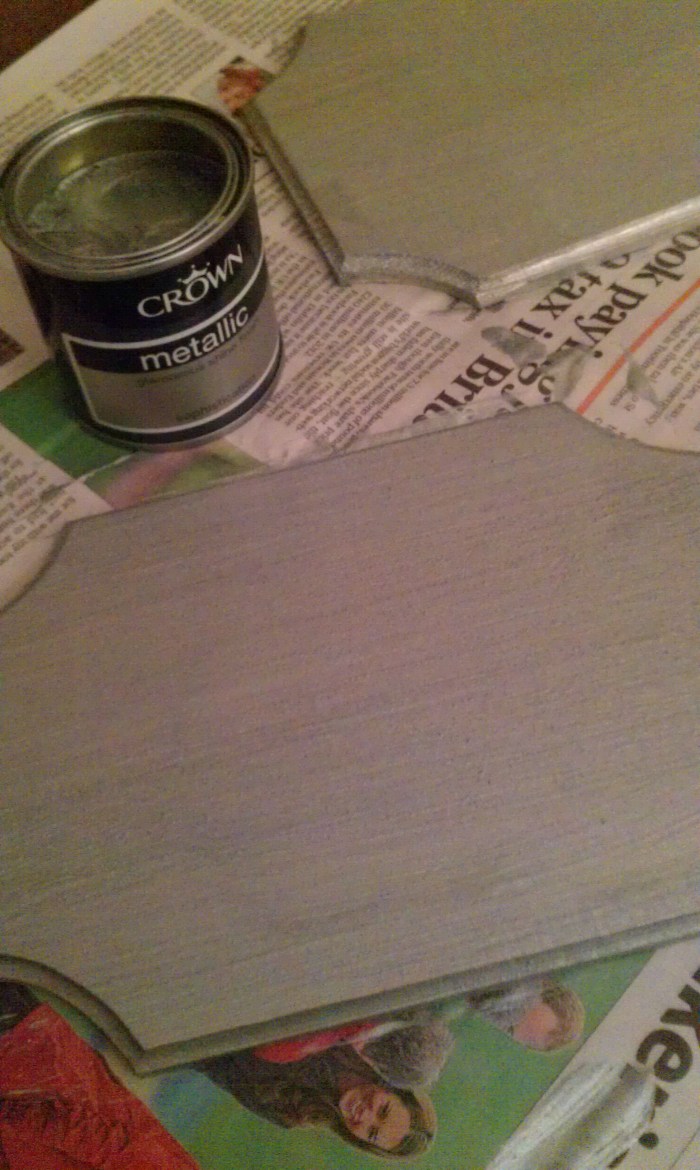
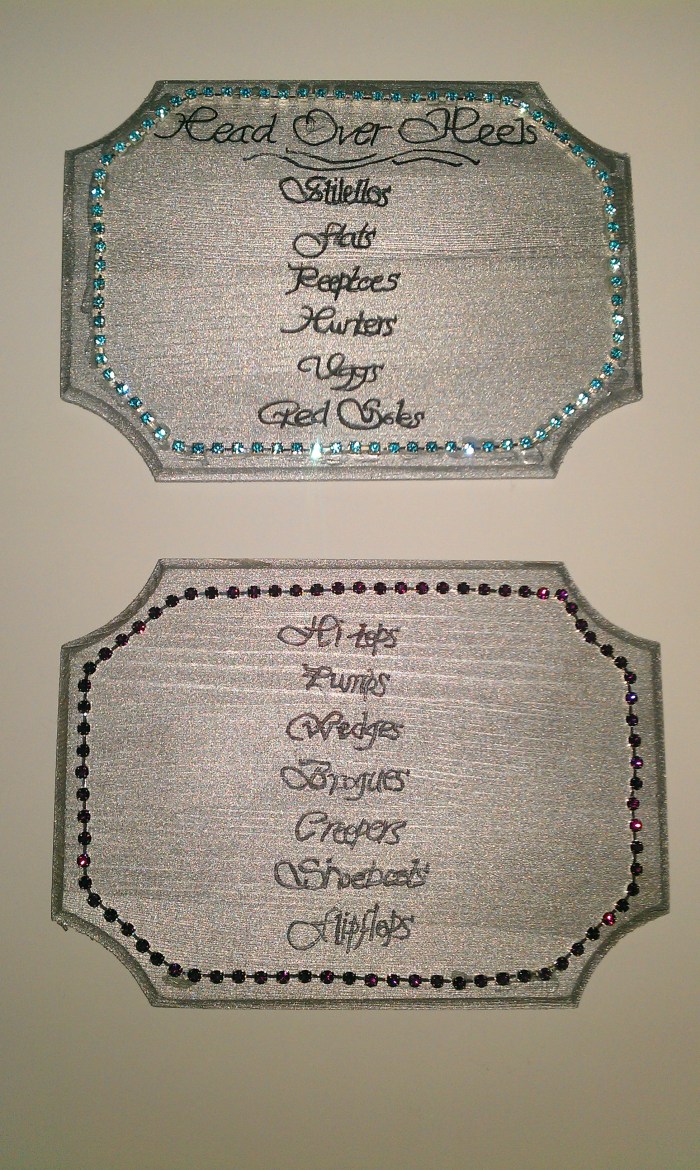
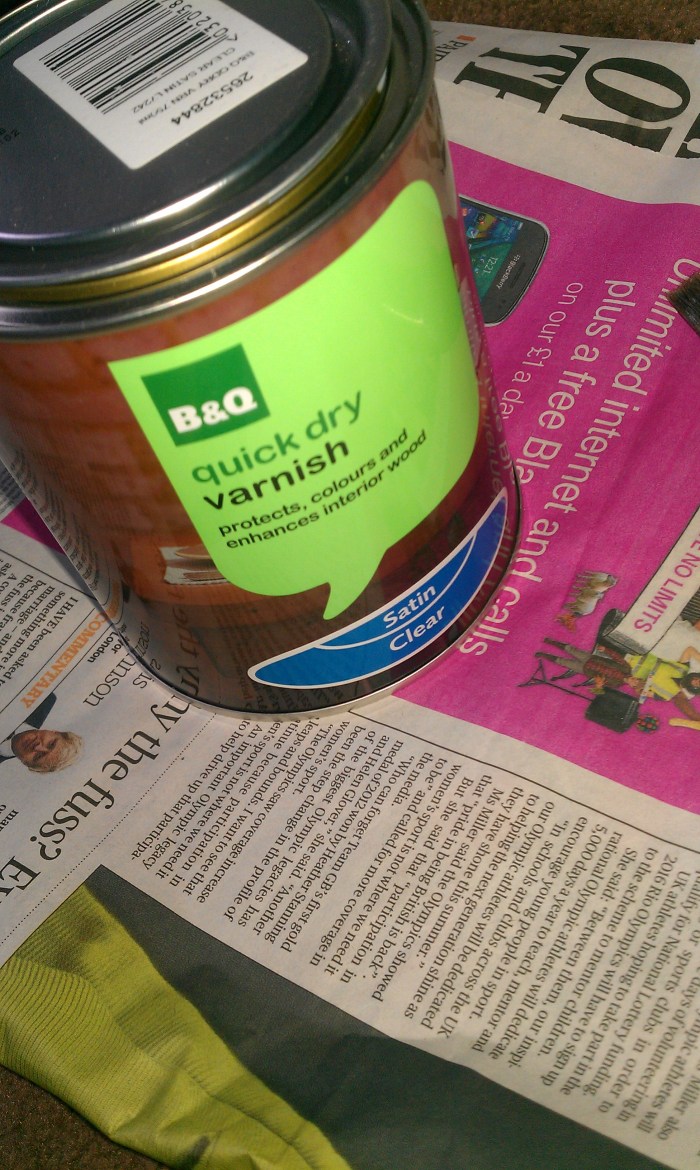
I finished the plaques off with a clear varnish to seal the paint and makers from water and dust damage.
To finish, i added some gorgeous crystal handles to the doors and painted the top surface in the same metallic silver as the plaques.

I absolutely LOVE my new shoe storage. It looks amazing, its way better than it used to be, and the best thing is, there isn’t another one the same anywhere! ❤
